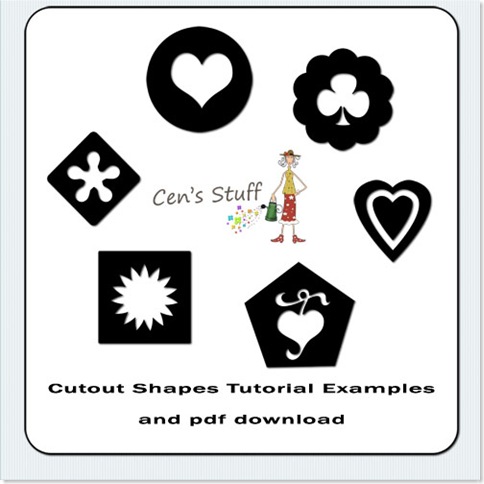
Today's tutorial is on cutting out shapes..
Once you have read this tutorial you should be able to make great cutout shapes to dress up and add as elements to your layouts. When you understand this simple technique you can apply it to lots of things the only limit will be your imagination!!I'm going to show you the easiest way to do it and I'll try to keep it as simple as possible. Well, that's the theory, lol! I have written it in Photoshop CS2 but the basic principles holds good for so many programs...try adapting it for yours!
If you prefer to download the tut as a pdf there is a link is at the bottom of the post.
Or if you just want the example shapes..be my guest, again a download link is at the bottom of the post.
So lets go!!
I've chosen a size that will let you see what your doing easily, you normally wouldn't make these so large, but they can easily be resized.
Open a new file 4inches x4inches (1200 pixelsx1200pixels), 300dpi, transparent.
Before we start, make sure you have black as your foreground colour and white as the background colour. (Quick Photoshop tip - press D for a fast way to reset the colours to black and white)
Now click on the custom shape tool and pick the shape you want for the base. I've picked the ellipse tool as I want to draw a circle but you can choose any shape.
To choose the circle
Click custom tools
Then choose the ellipse tool
Make sure that you have "Fill Pixels" as the option in the top tool bar. (As this tut is a fairly basic one this is the easiest option for you)
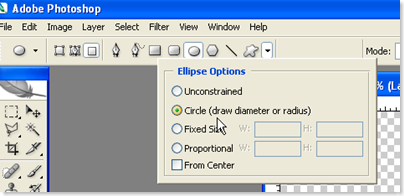
To make sure you get a perfect circle, click on the custom tool shape in the top tool bar and from the options pick Circle.
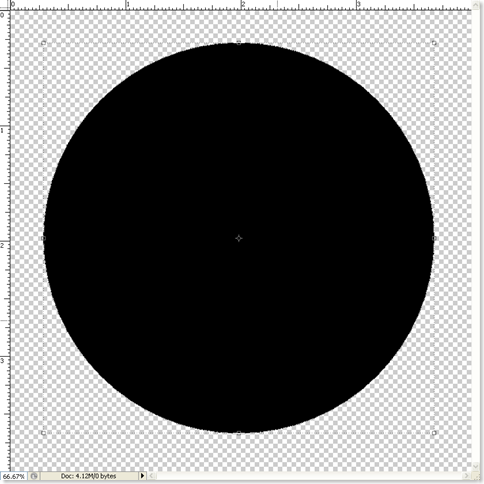
Now lets draw our shape. click and drag out the circle using you mouse.
Remember if the shape goes out of the window as your drawing it, keep holding down the mouse and press the space bar. This will allow you to move and reposition the circle until it is all in the window.
Now change the foreground colour to white to draw our shape so that we can see it against the black base layer. (Quick Photoshop tip - Press X to change the background colour to the foreground)
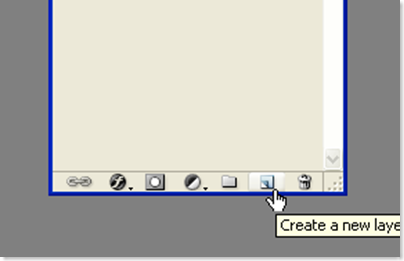
Next we need to make a new layer to draw our second shape onto, so click the little icon at the bottom of the Layers palette to make a new layer.
So what sort of shape will we cut out of out the circle? The choice is yours, but I
have picked a heart shape from the custom shapes to cut out of mine.
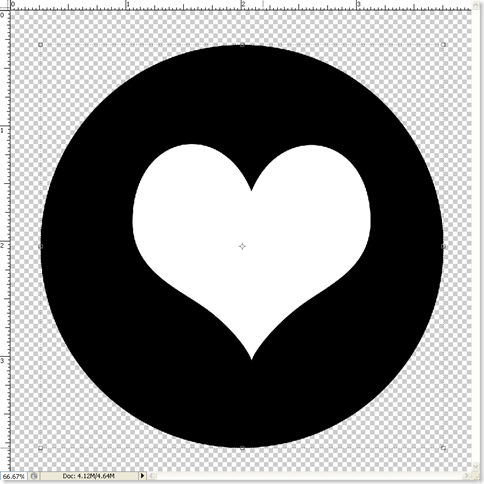
Select the shape you would like and holding down the Shift key and drag out the new shape on your new layer (Layer 2). Holding down the Shift key at the same time means that the shape will not distort.
Because you can see the basic shape layer underneath it helps you get the size right for
the cut out. If you get it wrong the first time and your not happy with the size just
CTRL Z and undo the step.
You should have something that looks like this, depending on the shapes you picked.
To make sure that we get the cut out in the centre of the circle shape we need to make sure they are aligned.
To do this we need to make both layers active.
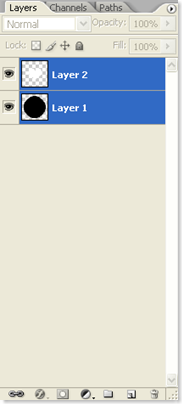
So holding down the Shift key, click on the thumbnail for the base shape and then, still holding down the Shift key, click on the thumbnail for the cut out shape layer.
You should have both layers now showing as active like this.
To make sure they are exactly centred, go to the top tool bar and click on the align
horizontal centres symbol.
Then click on the align vertical centres symbol.
So now everything is centred ready to cut out the shape.
So let's start cutting!
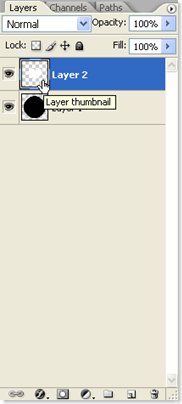
Click on the heart layer is the active layer (Layer 2). Then press the Ctrl key and holding it down click on the thumbnail (the little picture icon). This will give you marching ants around the heart shape.
Now click on the circle shape layer (Layer 1) and then press Delete.
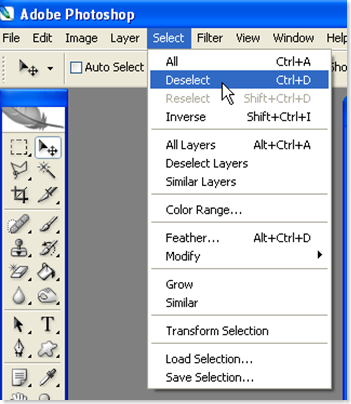
To deselect the selection and get rid of the marching ants, go to the top tool bar and pick Selection/Deselect (Quick Photoshop tip- Press CRTL D to deselect)
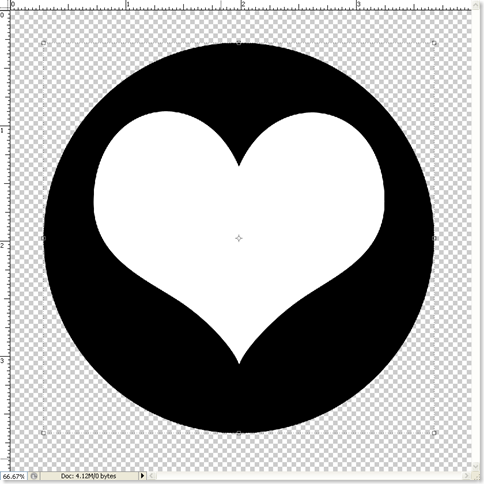
To see our circle with the heart cutout clearly we need to turn of the heart shaped layer (Layer 2). To do this click on the eye of the heart layer (Layer 2) to turn it off.
Now you can see the circle shape layer (Layer 1) with the cutout area you have just done.
You can resize it, colour it, apply a layer style or use it to cut the shape out of a
background paper to add to your layouts. There are so many ways to use this simple technique all it needs is your imagination!!
Don’t forget to save the shape as a png file so you can use it again!!
Download the tut as a pdf here
Download the example shapes here
Well, that's me for today...so have fun and see you soon!!!





9 comments:
This is sooo awesome June ;) I can't wait to try it! Thanks!!
Thanks so much!! Fun!
You are so awesome! I did just actually figure this out this week, but I would love the shapes for my own. If you don't mind.
Hugs!
Linda
Thank You so much I am a newbie with photoshop and I loved this tutorial now I have a flower and a pair of scissors of my own!!!!
Thank you sooooo much for the wonderful tutorial. Simple and easy to understand. I think even I can do it! LOL Apprecaite the work you did to make this for us.
Nanc
You make it real simple and I tyvm for that!
What a wonderful and easy to understand Tut. Love it!
The idea behind the tut is great too. Shapes to add to any kit or element pack. Thanks once again. :)
That was a pretty cool little tut,I never thought of cutting a shape within a shape before that will really extend my ability to be creative with shapes, thank you for sharing that great idea and tut with others.
I've just completed the tut and wow... I feel so SMART! Thank You ;) Now if only I could find that Heart shape?? I used another Circle :)
Post a Comment