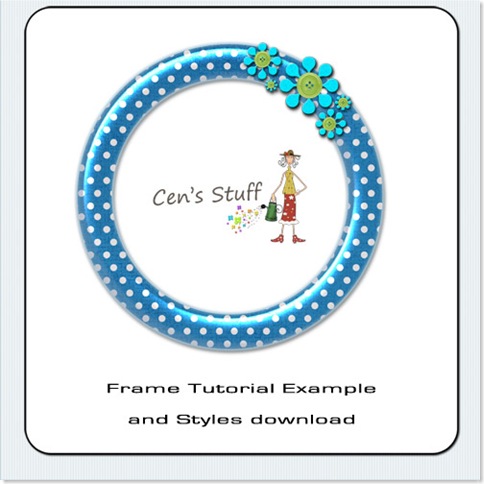
I promised you a tutorial and I have one for you tonight on making a basic frame and decorating it a little. I will show you screen shots in Photoshop CS2 but I am sure that you will be able to apply the basic principles in the program you use.....at least I hope so!! I have also included a little download with some styles for you to use to play with this one. Just load them into your presets. I have also included instructions on how to load styles in PSE5 and PSE6 in the download.
The example frame is also included in the download.
You can download the example and styles here
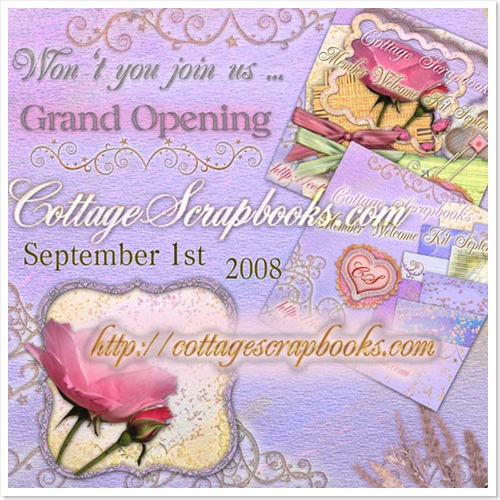
Before I start, news!! Stella from Stellarific Creations has started her own shop and online community, it goes live 1 September. Cottage Scrapbooks looks like a great community in the making. Stella has invited me to take part and I am looking forward to joining such a happy place. So make sure 1 September you check us out for loads of fun, challenges and of course freebies PLUS a month of 40% off in lots of things in the store!!!
Now lets get started making this frame!! I tried to keep it simple, so here goes!
1. Open a file 6inch x 6inch (1800x1800), 300 pixel per inch, background transparent.
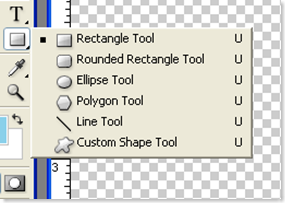
2. First we're going to make a circle to do this select the Ellipse Tool from the shapes palette.
3. Make sure that the shape layer is selected (see below).
4. To make a perfect circle easily click on the little down arrow next to the star shape icon in the tool bar and click Circle (see below). This means that you will get a perfect circle every time.
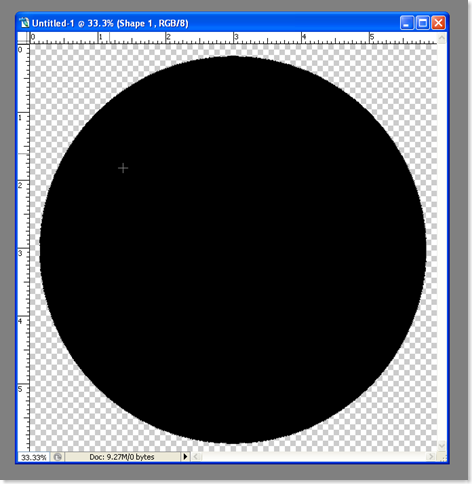
5. Put your cursor in the top left corner and draw out your circle...don't panic if it goes of the screen!!! Before you release the mouse button..press the space bar on your keyboard and move the circle where you want it!! Let go the mouse button and there you have a circle!
6. Now we want to it look like a frame, so click the subtract from shape icon in the tool bar.
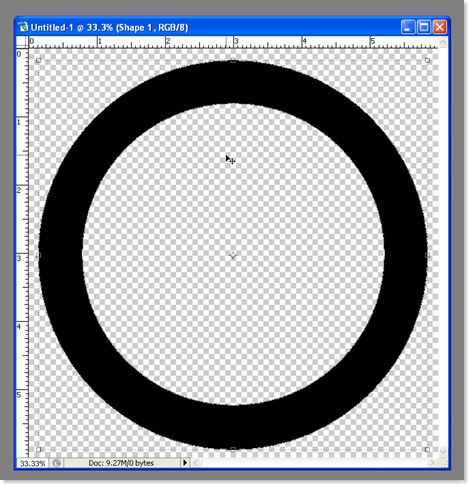
Now drag out a circle to the size you want the "hole" to be..and before you release that mouse...hold down the space bar, this means you will be able to move the shape and position it where you want it to be. When you have it positioned then release the mouse button and you have...a hole!!
This is what mine looks like.
7. Now we have a shape but it still doesn't look quite like a frame. So we need to give it some style!! Now the magic starts!!
8. You can apply a style that is your favourite or you can use the layer style in the download.
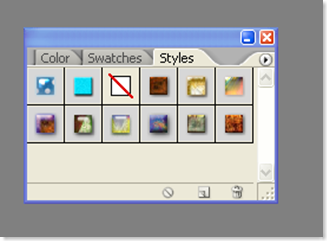
To apply the style just click on one of the styles you have loaded in your palette.
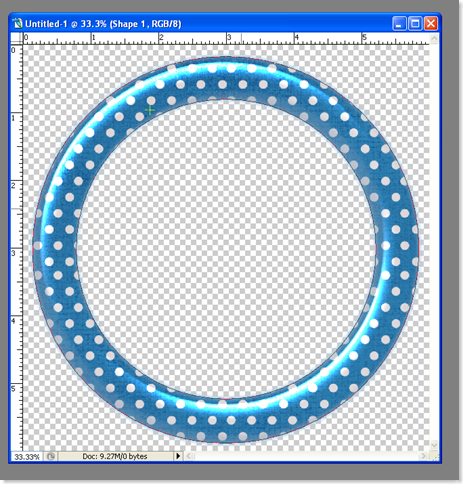
9. You should have some thing that looks like this if you use one of the the download styles.
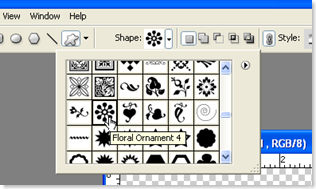
10. Now lets make it a little more interesting! You could at this point add elements you already have or we can add some using the shape tool. We'll give it try with the shape tool for now. So, select the Custom Shape Tool and pick out a shape you like I've picked a flower.
11. Now drag out the shape you chose. Notice that the shape has the same layer style as the frame. To change the layer style we need to change the layer style using the top tool bar by clicking the little arrow next to style and then choosing a new style for the shapes.
12.Now click on Add to shape area, so that we get all of the shapes we draw on the same layer.
Try drawing a few more of your shape around or on the frame, remember you can hold the mouse button down, draw the shape and then hold down the space bar to move the shape you have just drawn. The trick is don't release the mouse button until your happy with it!!
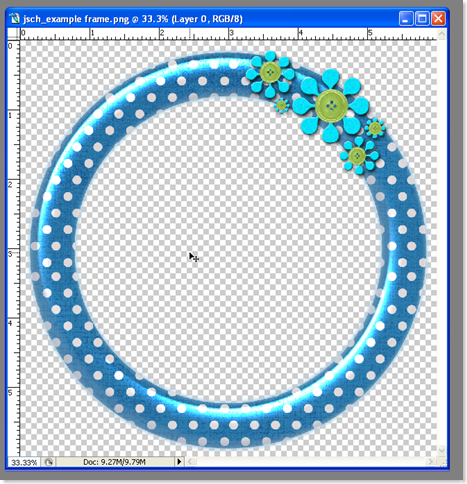
Here's mine. I've added some buttons quickly as the flower centres and that's it!!
Now save it as a png file and you have a frame!! Of course you have a limitless number of frames you can make by using different shapes and layer style..so have fun and experiment!!
I hope you have fun and give it a try..I'd love to see any you make!!
Well, that's all for today, have a safe day tomorrow and see you then!






7 comments:
The store looks so pretty. I wish you all the best. Thanks for the Tut on frames. The directions were very easy to follow. :)
Hey June, Wow, that's awesome about you and stella ;) I saw her site yesterday when I was reading her facebook page. Do you have a facebook? Send me your link and I will friend request you! Oh, btw, here is a link to my LO with your lovely mat in my SAS Gallery: http://www.stoneaccentsstudio.com/gallery/showphoto.php?photo=20665&ppuser=2324
I hope to try your tut next week since the kids won't be back in school till Tuesday. TTFN...Cindy
very nice tutorial. I hope to see more of your works. I will try to make something of my own too following your tutorial.Thank you.
I have never scrapbooked and want to start, this looks well laid out enough for me to follow. I downloaded the Emma files you offered as they caught my eye and one of my daughters is Emma. Keep up the good work you are in my blog list on my blogspot and I have linked to you from my website (address at my blog). Thank you for your hard work
Aw, June, Junie. you most definitely are the best-EST! Love that tut. Even dummie-me me can follow..... Bless ya, shugah!
Thanks for the great tutorial!!
I have had a blog award and I would like to pass it to you and it can be found here.
Blog Award
Thankyou for the constant inspiration you provide and the freebies you share so generously.
Post a Comment